Install Address Ninja from the Shopify App Store. If prompted, choose a plan on Shopify’s plan selection page, confirm it, and return to Address Ninja. Eligible development stores receive Developer access without choosing a paid plan.
Step 1: Turn on validation rules
- In Shopify admin, go to the Address Ninja app.
- On the home page, click the name of the rule you want to enforce at checkout. Rules that work with their defaults also offer Activate on the home page; rules that need settings offer Set up.
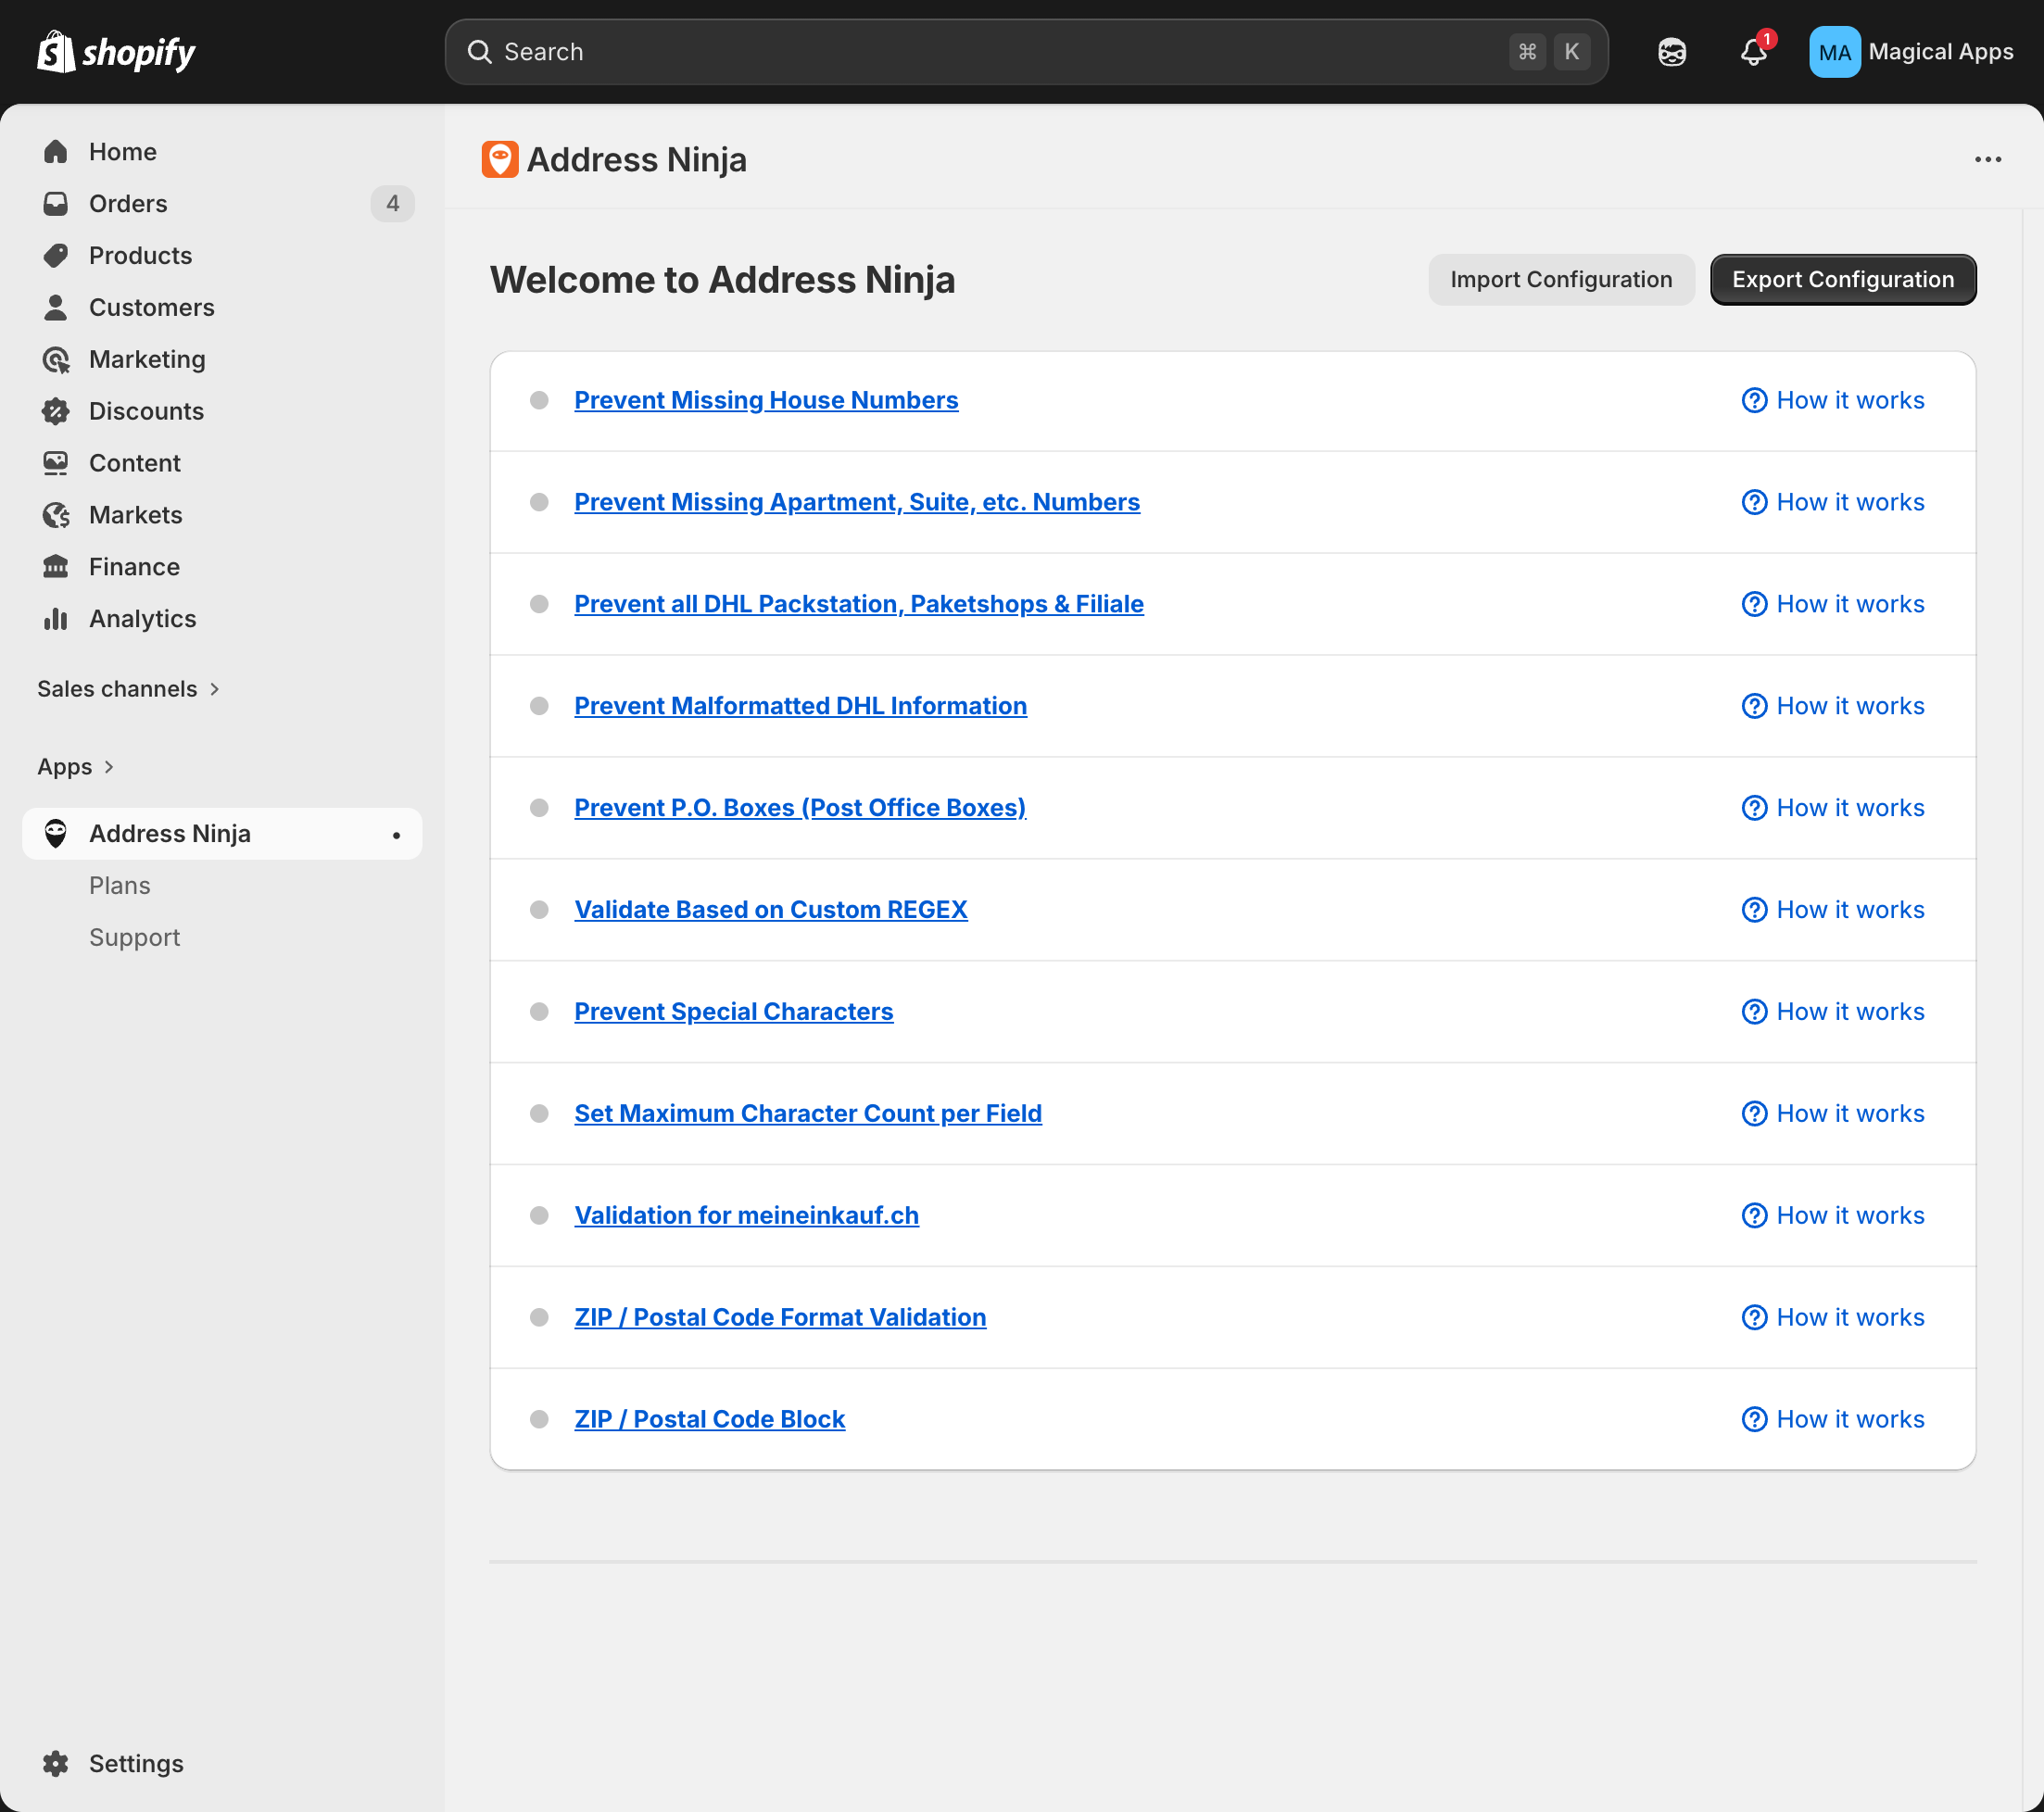
- Choose where the rule applies: All countries, Only these countries, or Except these countries. For a country list, type in Search countries and select each country. Complete any other settings the rule asks for.
- For Custom rule (REGEX), click Presets to use a ready-made pattern, or enter your own expression and test it in Check your regex.
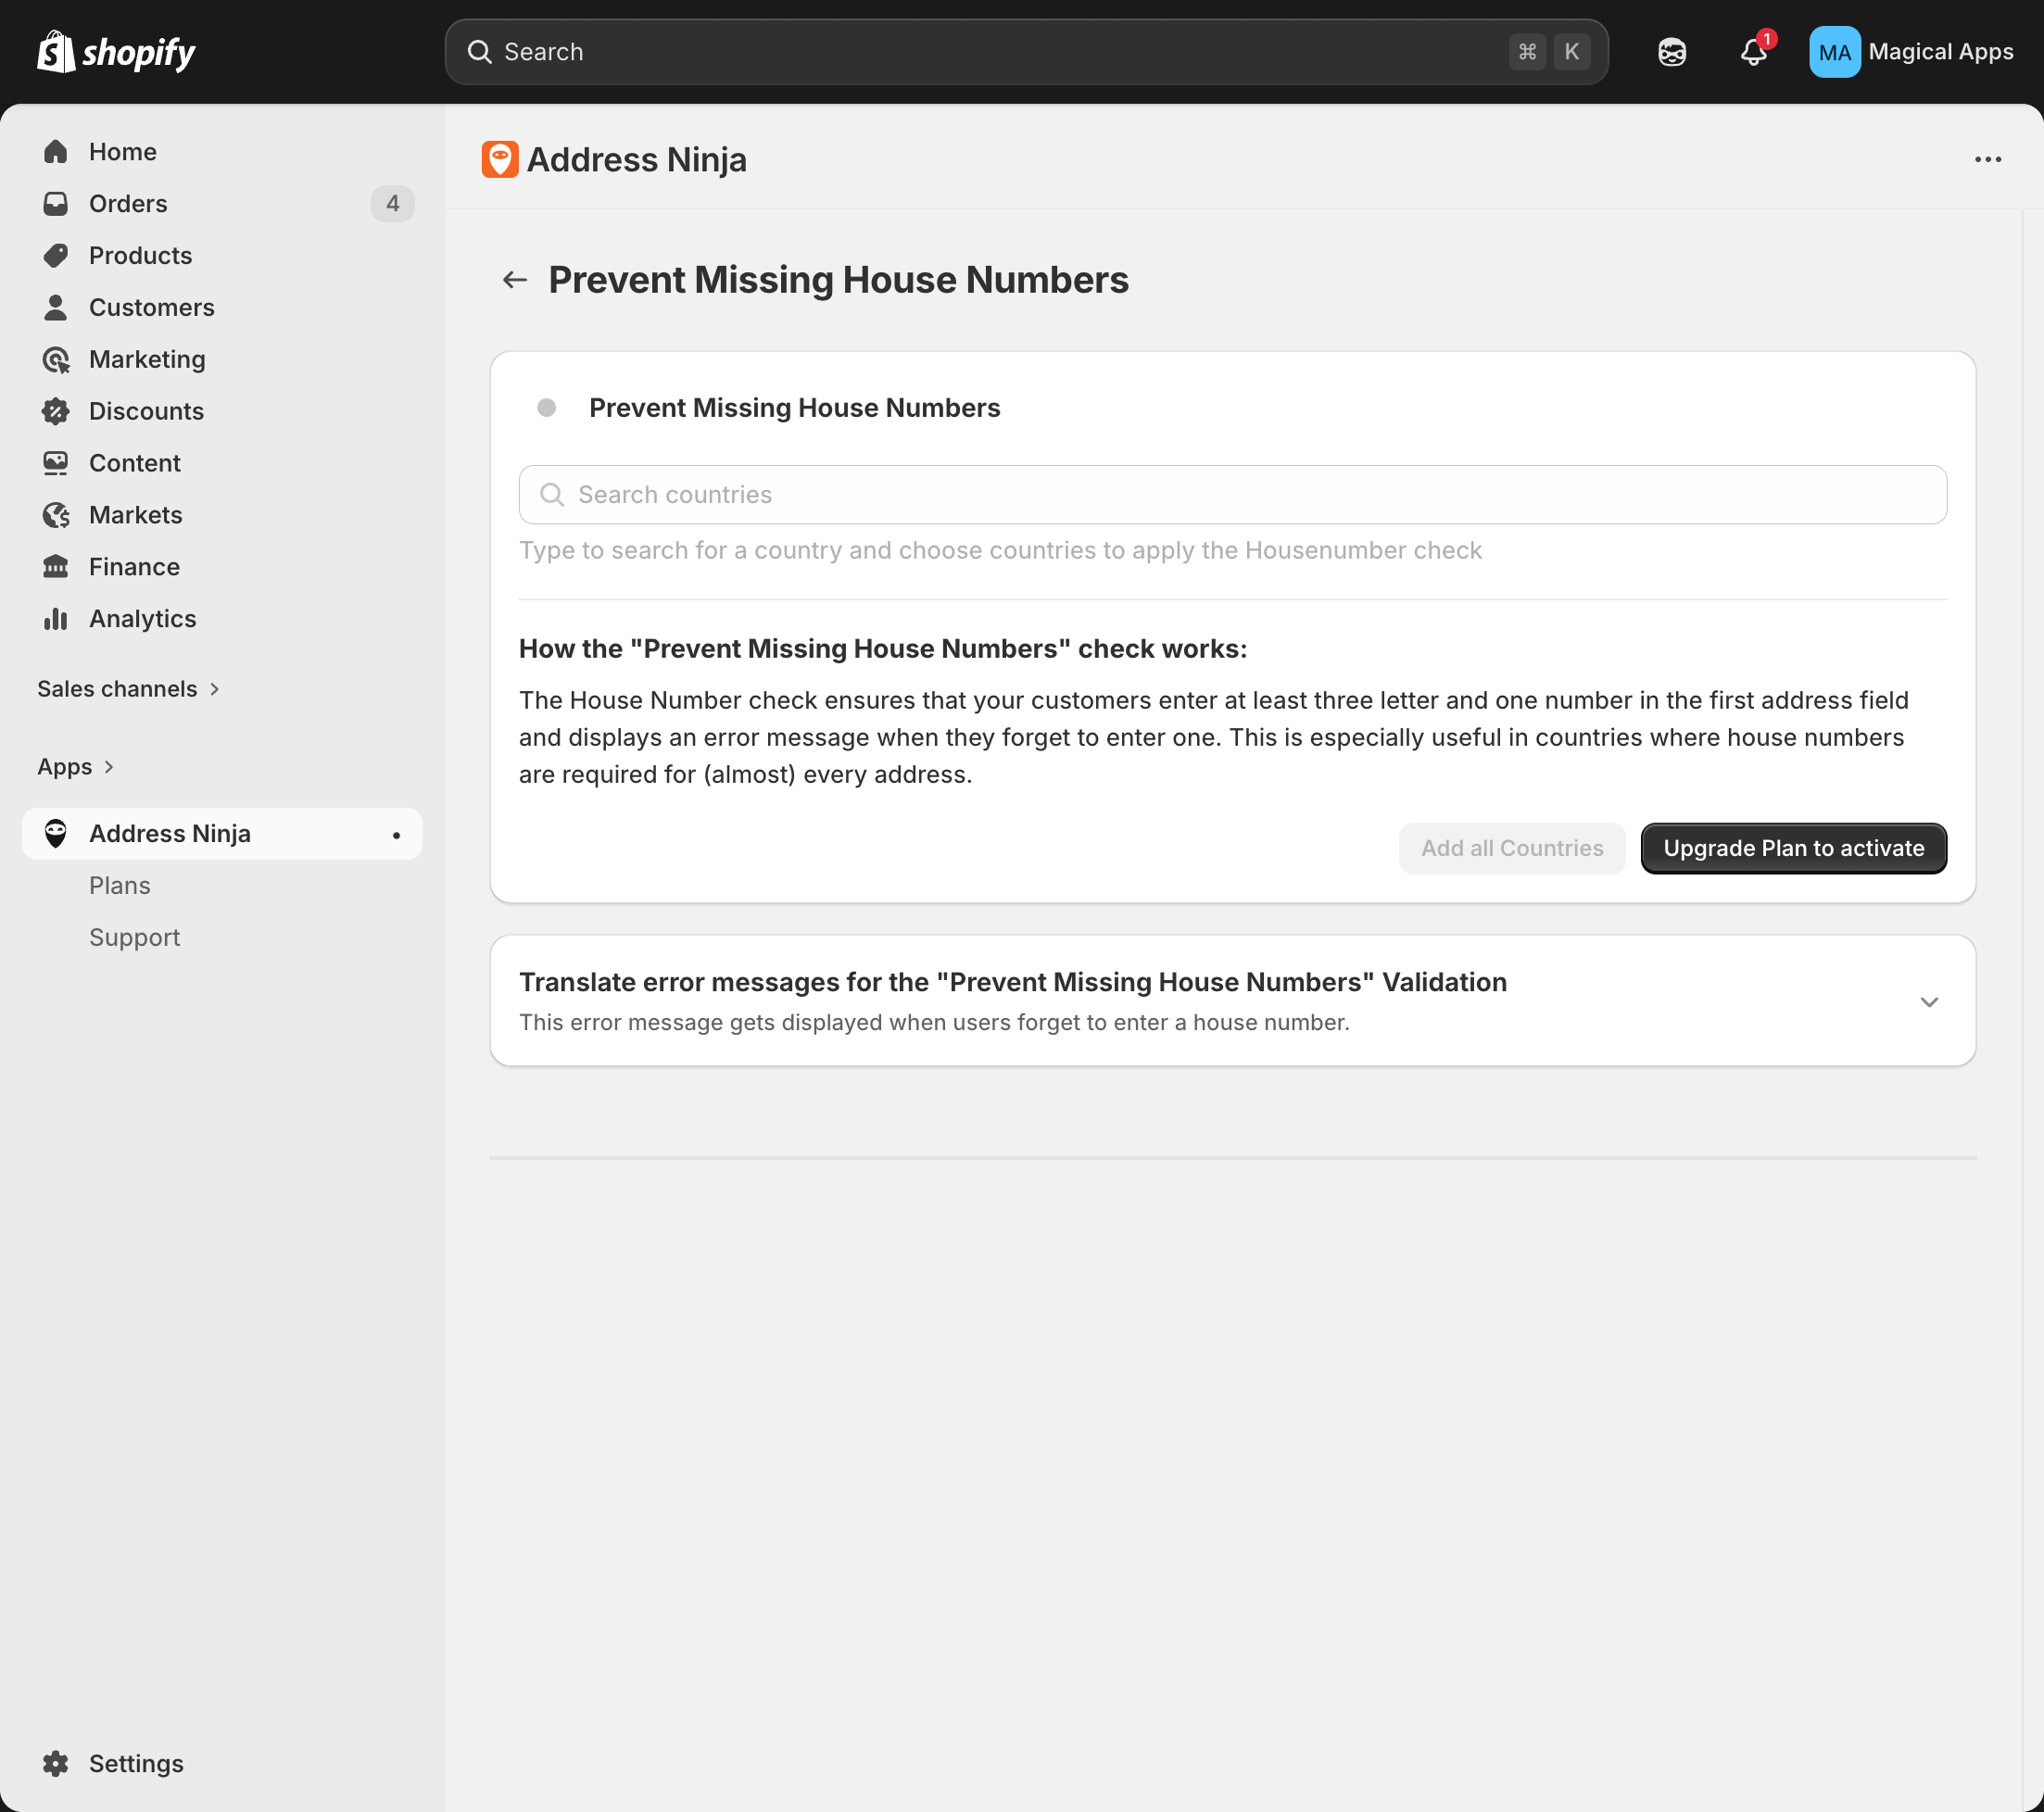
- Click Turn on. If you changed settings, the button reads Save and turn on.
That's it. The rule is now live at checkout. Customers with invalid addresses will be prompted to correct them before completing their order.