This guide covers Starter Plan and Plus Plan.
Jump to: Starter Plan · Plus Plan
Install Magical Fees from the Shopify App Store, then follow the steps below to go live. Most product fees take two clicks: pick a template, activate it.
Step 1: Add the fee
- In Shopify admin, open the Magical Fees app and click Add fee.
- Pick a template if one matches your fee (container deposits, mattress recycling, battery fees, tariffs, card surcharges). Search by the program's name or the wording it requires on receipts.
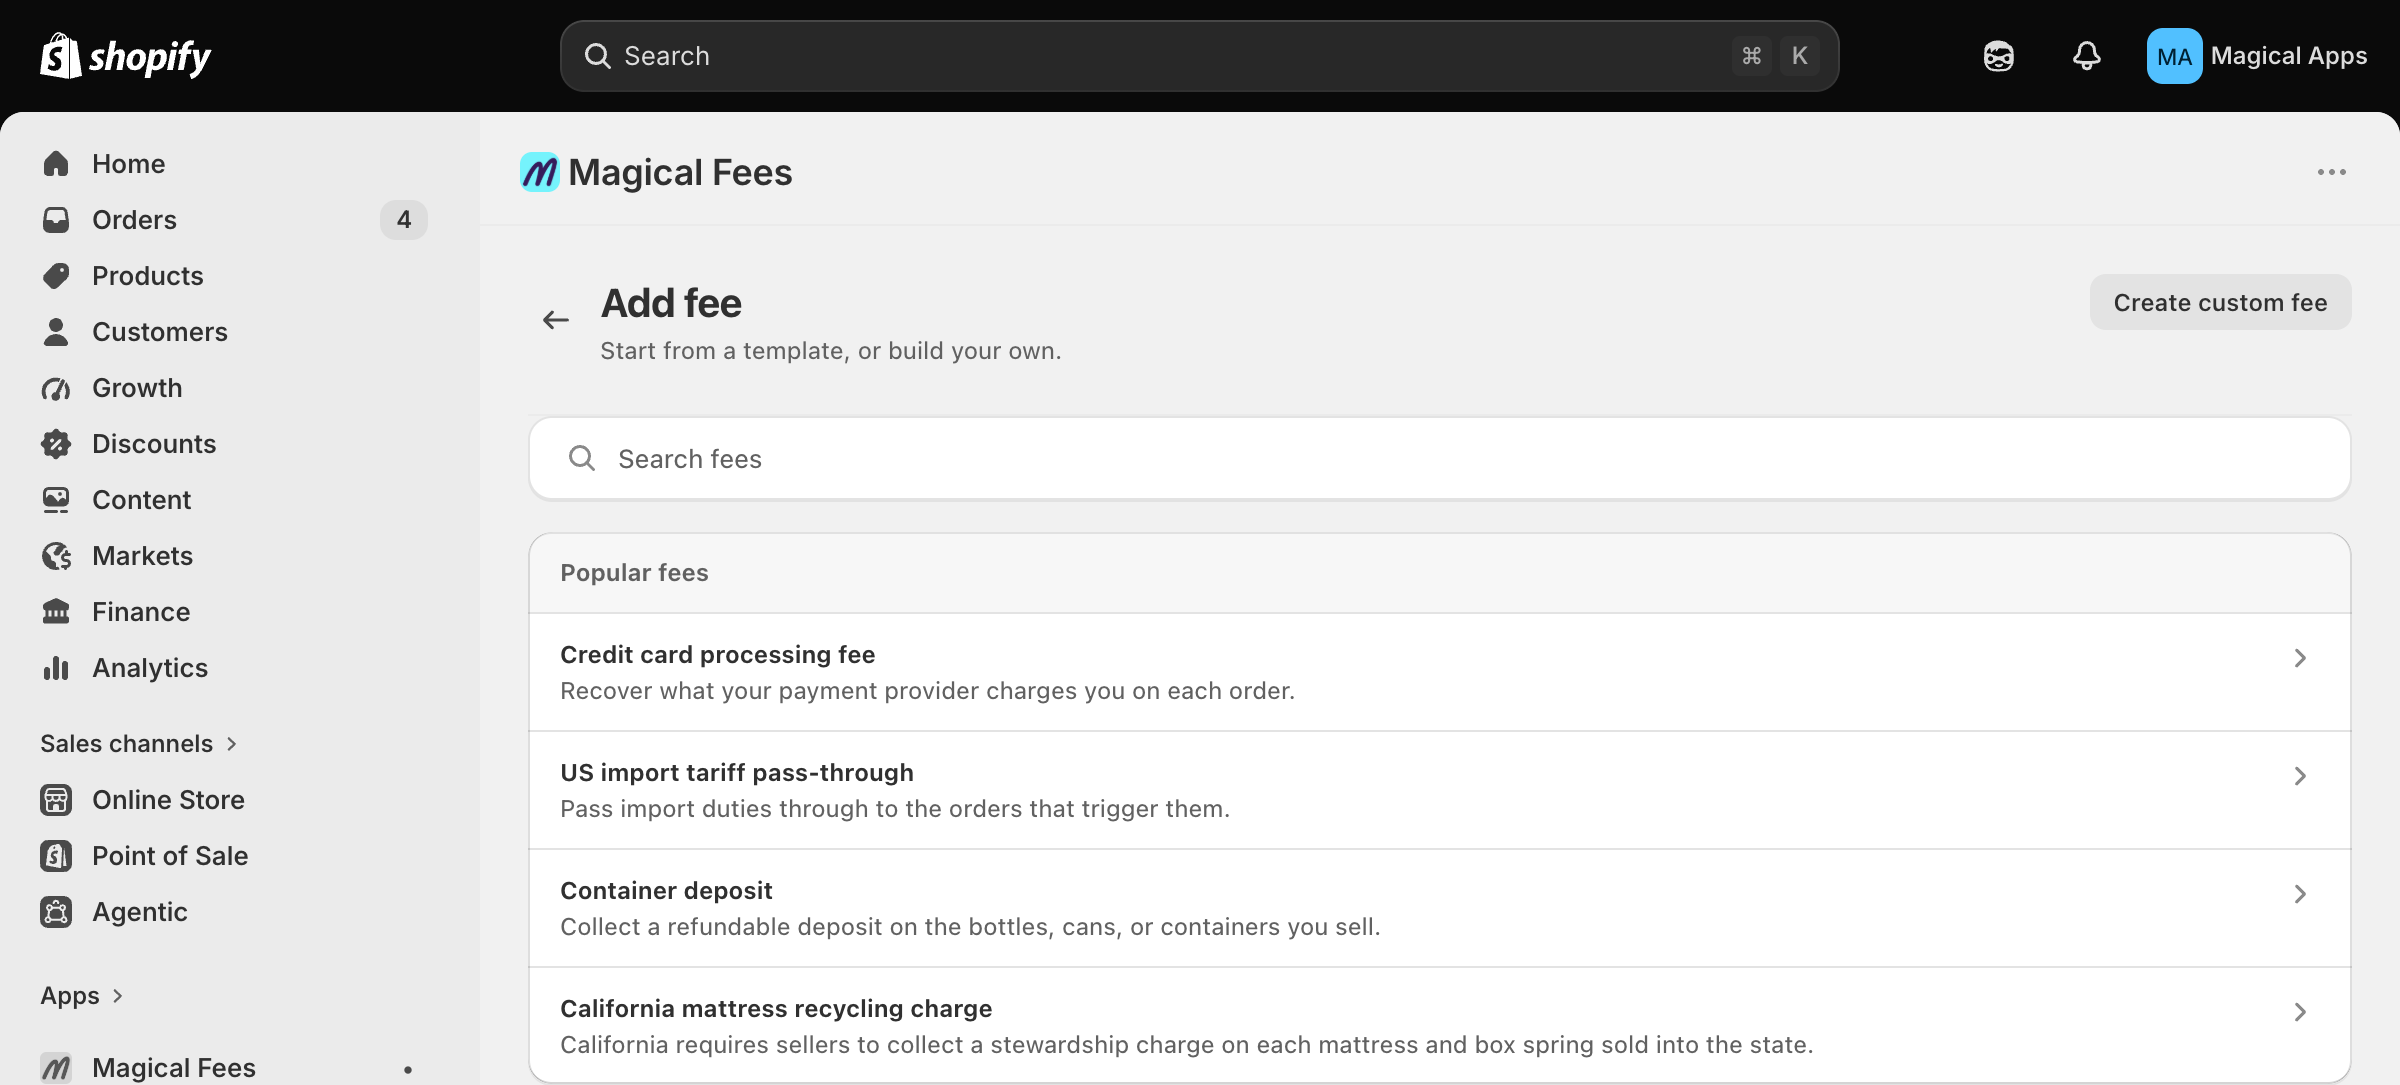
- On the preview, answer the one question the template can't: which of your products it covers. Product templates ask for a collection; deposit templates ask for the option values of one pack size. Then click Activate fee.
No template for your fee? Click Create custom fee, choose the Function Method in the Select a Method window, and on the form:
- Enter a Title (e.g., "Recycling Fee") and, optionally, the Details your customer sees at checkout.
- Set the fee type to Product.
- Under What it charges, set the price (fixed amount or percentage).
- Under What it applies to, choose the products or collections the fee applies to.
- Click Save.
For the full walkthrough of templates, see How to create a fee from a template.
Step 2: Finish the setup guide
If your online store isn't set up for fees yet, the fee is created as a Draft with a Finish your setup checklist on its page. Work down the list:
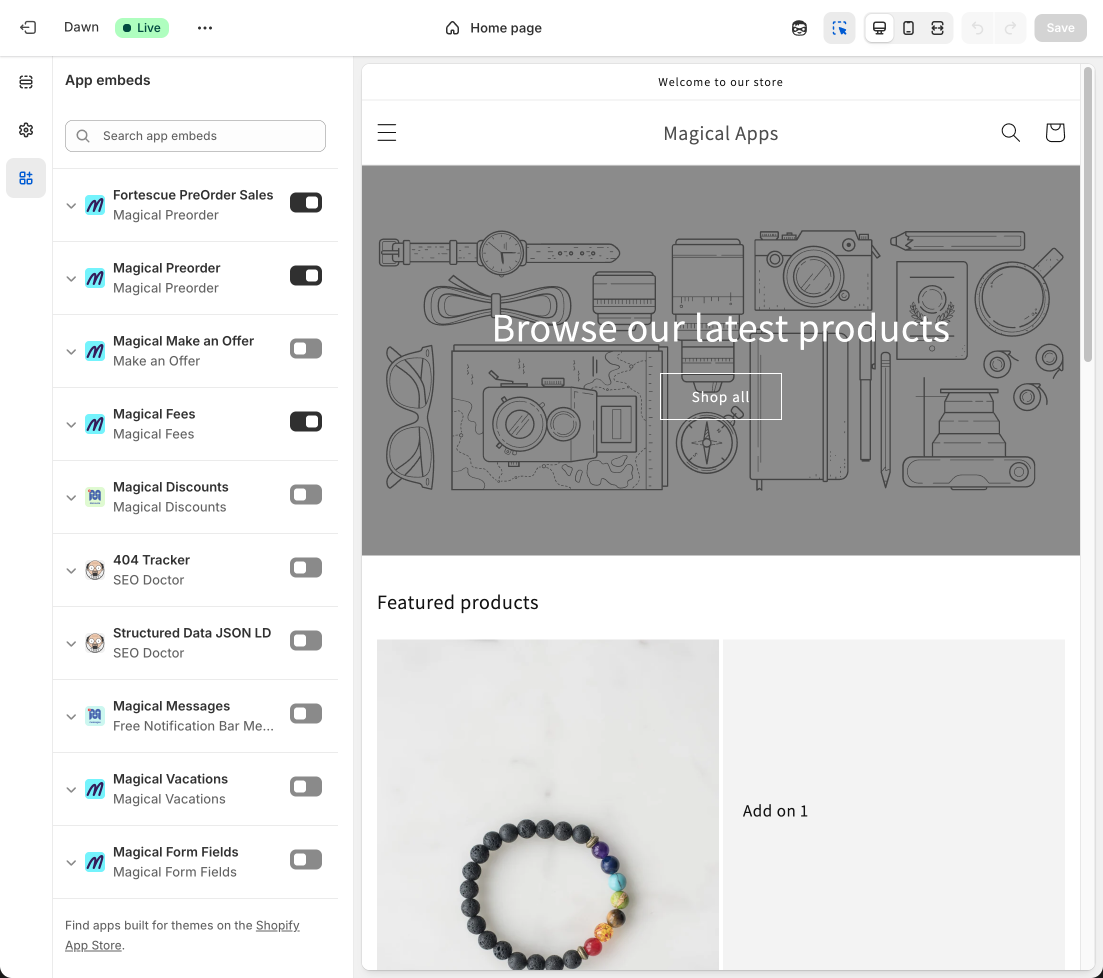
- Enable in theme editor: click it, then Open theme editor. The Magical Fees app embed is already selected; turn it on and click Save. Back in the app, the task checks itself off.
- Turn on Hide dynamic checkout buttons when fees apply in the same app embed so express checkout buttons can't skip the fee.
- Turn on the Checkout UI extension so fees show natively in checkout and Shop Pay:
- In Shopify admin, go to Settings > Checkout and click Edit on your active checkout profile.
- In the editor, open the Checkout page. Under Order summary, click Add block and select Magical Product Fees.
- Click the Magical Product Fees block. Under Checkout behavior, enable Allow app to block checkout and Include block in Shop Pay.
- Click Save.
- Click Activate fee at the top of the page. You'll see Fee activated.
Sell only on POS or draft orders? Click Skip this channel on the Online Store task; the guide adjusts.
Step 3: Check where it works
The fee's Where it works card lists each sales channel. A row that reads Setup required still needs a step; the button next to it takes you there. Once a real order carries the fee, the row reads Seen live on order #1042, which is the app confirming the fee actually charged.
That's it. Your product fee is live on your storefront. To change it later, open it from Fees and click Customize this fee.
Always label deposits separately for compliance
Display bottle deposit fees as a clearly labeled, separate line item at checkout and on receipts. This meets regulatory transparency requirements, builds customer trust by showing exactly what they're paying, and makes it significantly easier to track deposits for reporting and audits. Use a clear label like "Bottle deposit" or "Container deposit (CRV)" so customers immediately understand the charge.