This guide covers Starter Plan and Plus Plan.
Jump to: Starter Plan · Plus Plan
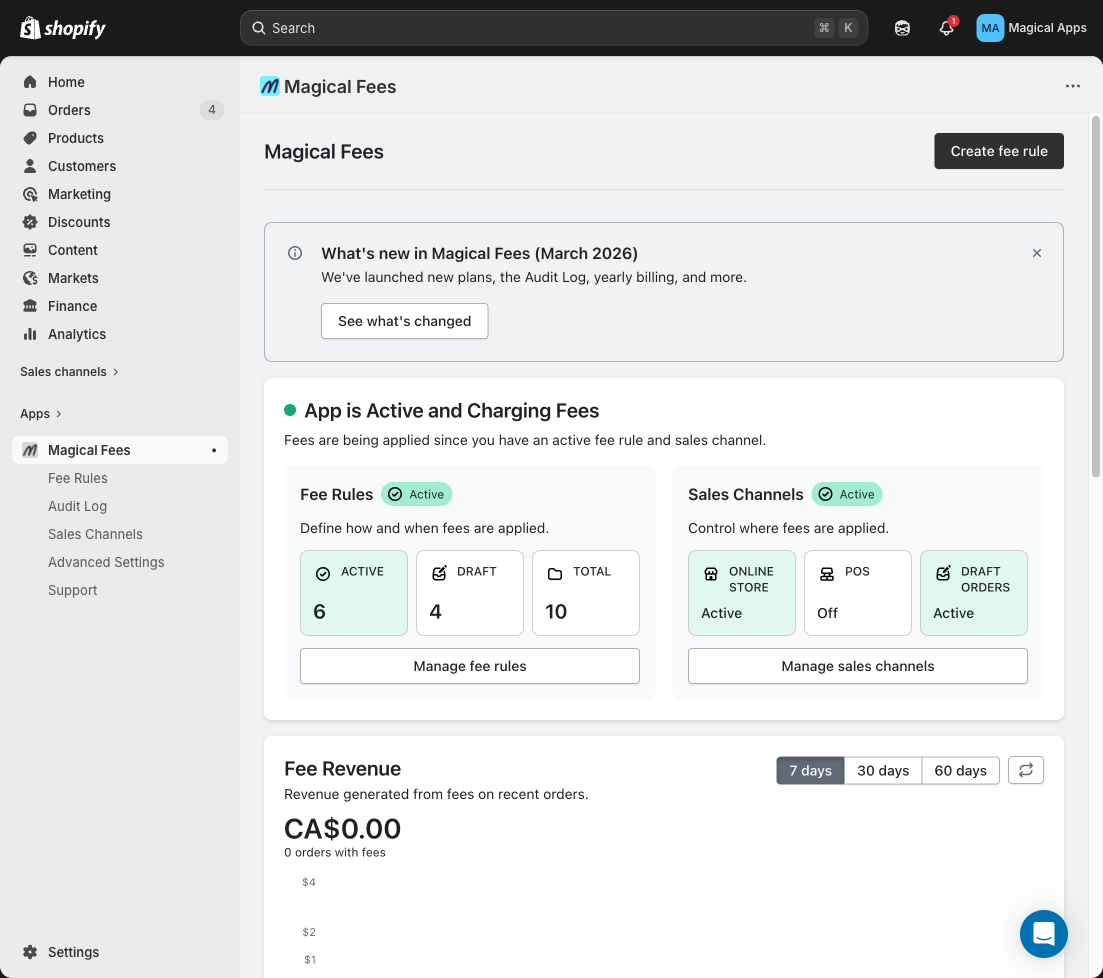
Install Magical Fees from the Shopify App Store, then follow the steps below to go live.
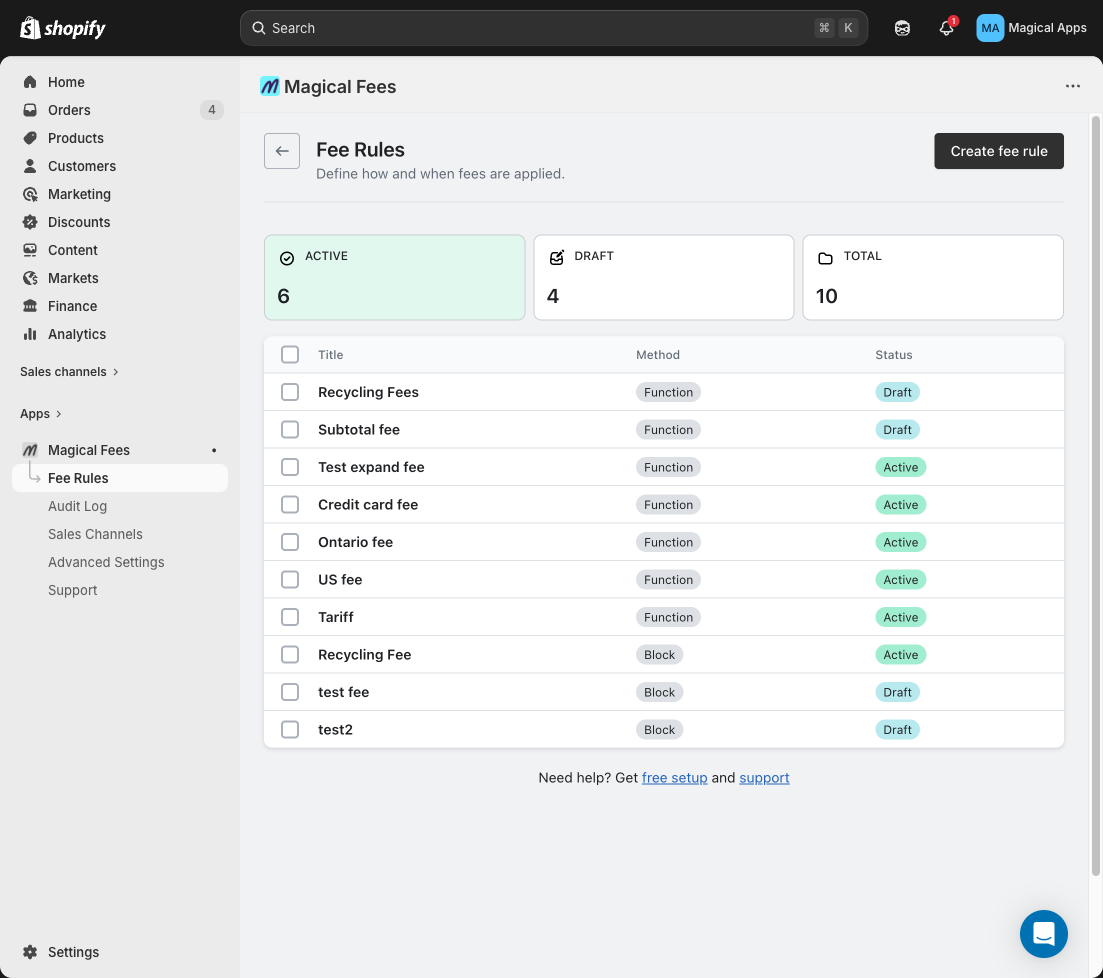
Step 1: Create a fee rule
- In Shopify admin, go to the Magical Fees app.
- Click Create fee rule.
- On the rule page:
- Enter a Title (e.g., "Recycling Fee").
- Set Type to Product.
- Set the Price (fixed amount or percentage).
- Under Product conditions, choose the products or collections the fee applies to.
- Click Save and confirm the rule shows as Active in the fee rules list.
Step 2: Activate the sales channel
Note: This is a one-time setup. If you've already done it, skip this step.
- In the Magical Fees app, click Add sales channels.
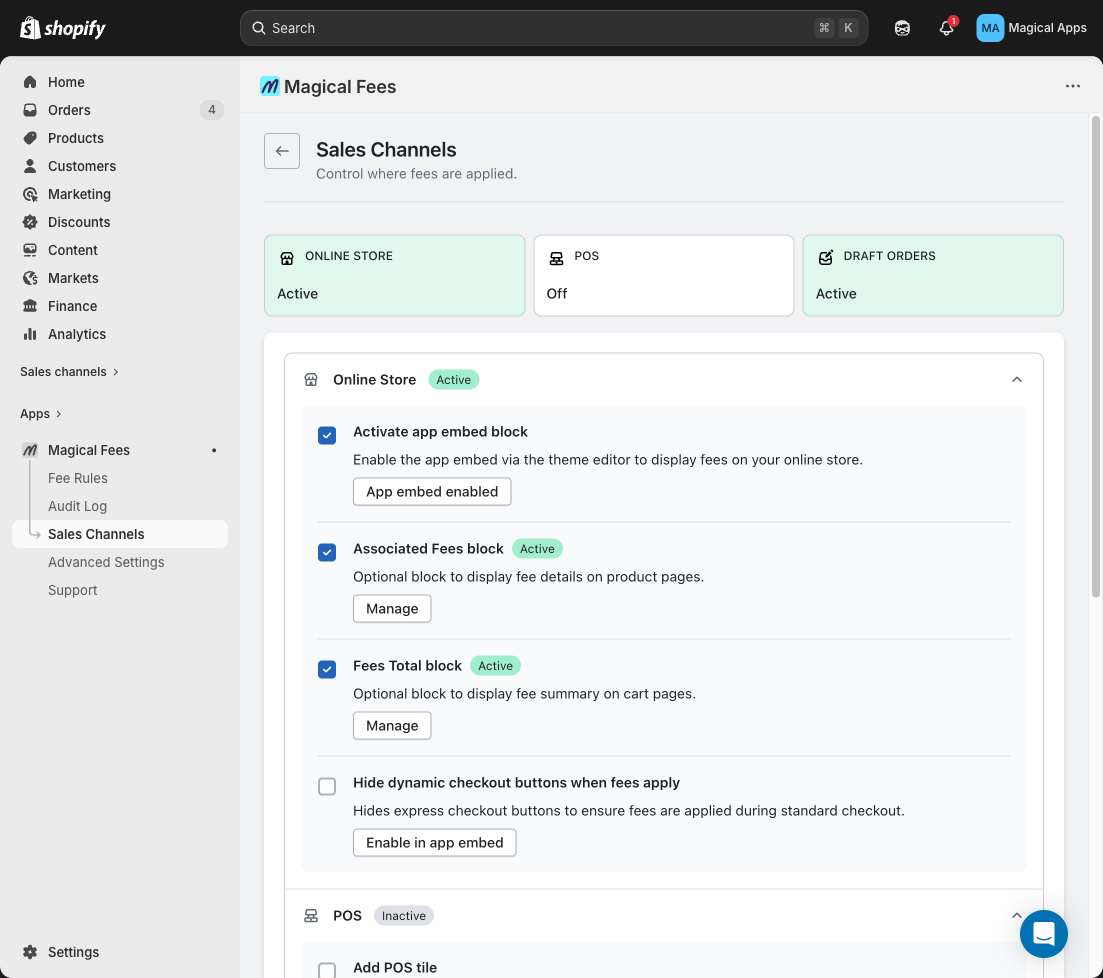
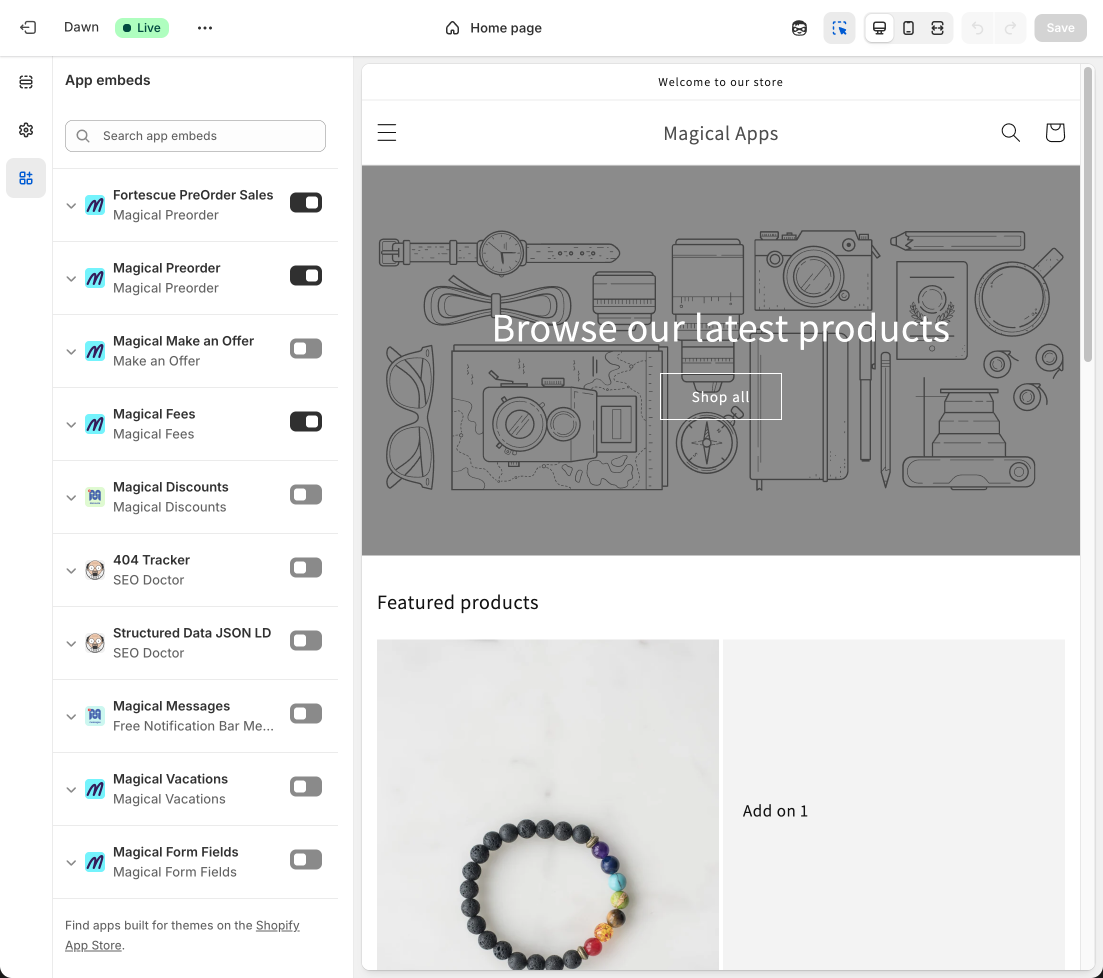
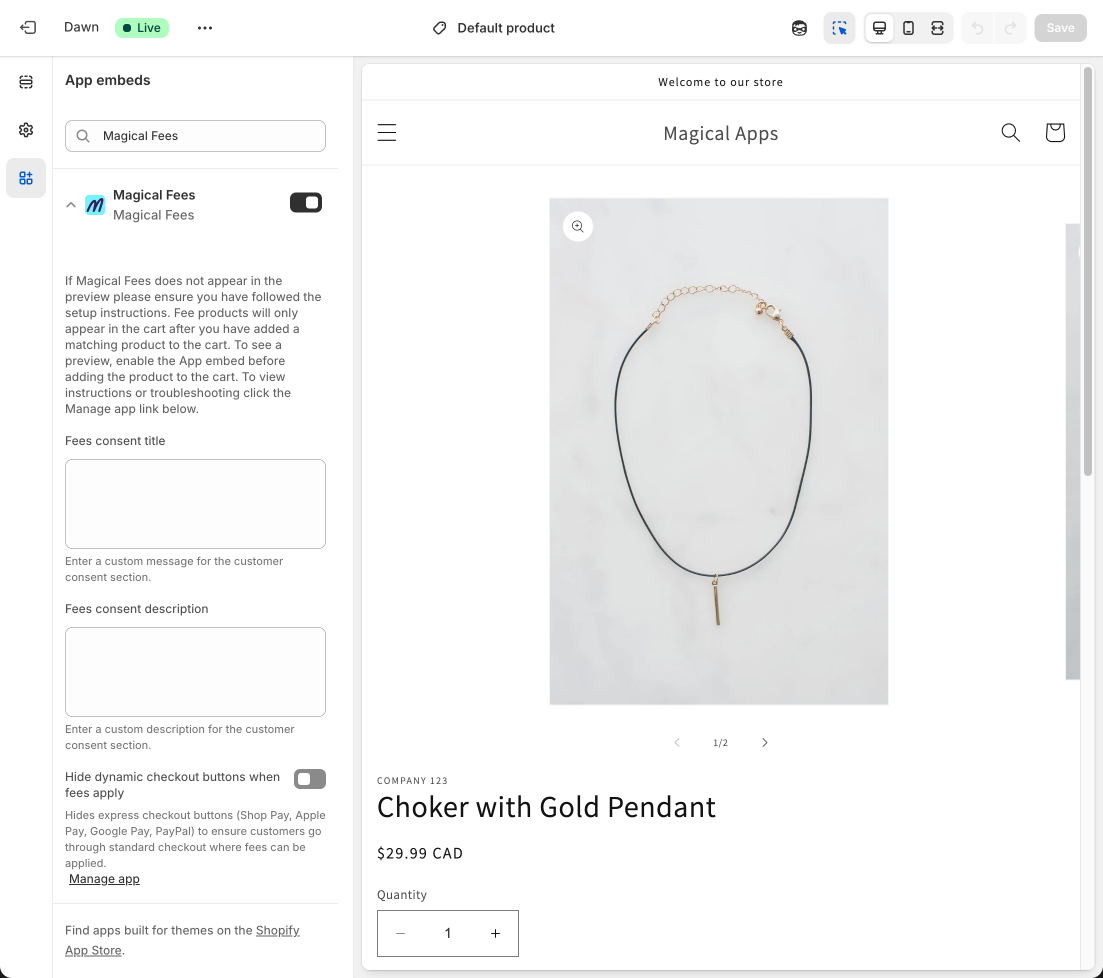
- Under Online Store, click Activate app embed block:
- In the theme editor, toggle Magical Fees on.
- Click Save.
- Under Online Store, turn on Hide Dynamic Checkout Buttons when Fees Apply:
- Click Enable in app embed.
- In the theme editor, toggle Hide dynamic checkout buttons when fees apply on.
- Click Save.
- Turn on the Checkout UI extension:
- Click Checkout settings.
- In Configurations, click Customize next to the checkout you want to edit.
- In the editor, open the Checkout page.
- Under Order summary, click Add block, then select Magical Product Fees to place the app block at checkout.
- Click the Magical Product Fees block in the left panel. Under Checkout behavior, enable:
- Allow app to block checkout
- Include block in Shop Pay
- Click Save.
That's it — your product fee is now live on your storefront.
Always label deposits separately for compliance
Display bottle deposit fees as a clearly labeled, separate line item at checkout and on receipts. This meets regulatory transparency requirements, builds customer trust by showing exactly what they're paying, and makes it significantly easier to track deposits for reporting and audits. Use a clear label like "Bottle deposit" or "Container deposit (CRV)" so customers immediately understand the charge.